![]() I have a perfectly good printer. It’s cheap to own and meets all my printing needs. The one thing I wish it had was AirPrint. After a lot of effort, I was able to setup my Raspberry Pi as an AirPrint server so I can easily print from my iPhone.
I have a perfectly good printer. It’s cheap to own and meets all my printing needs. The one thing I wish it had was AirPrint. After a lot of effort, I was able to setup my Raspberry Pi as an AirPrint server so I can easily print from my iPhone.
AirPrint for an old printer
I have an old workhorse Brother HL-2270DW laser printer. It’s wireless, it can print two sided, and it’s dirt cheap. It was $100 when I purchased it in late 2011, and I’ve only purchased two toner cartridges since then. For my light home printing needs, it’s almost perfect.
Back when I purchased the printer, my primary computing device was my laptop (a black MacBook from around 2008). Back then I didn’t need AirPrint. In the last decade, my usage (like everyone else’s) has shifted to using my smartphone more and more. Pulling out a laptop to print something started to become a hassle. It was pretty easy to find several articles on the subject of adding an AirPrint server to a Raspberry Pi. It was a much harder endeavor to connect my printer to the Raspberry Pi in the first place.
Installing the printer on Linux
My Raspberry Pi is nowhere near my printer, so I needed to add my printer as a wireless printer. First things first I installed CUPS. A simple terminal command and it was installed.
sudo apt install cups
CUPS allows the Raspberry Pi to act like a print server. It also allows you to add printers via a web GUI.
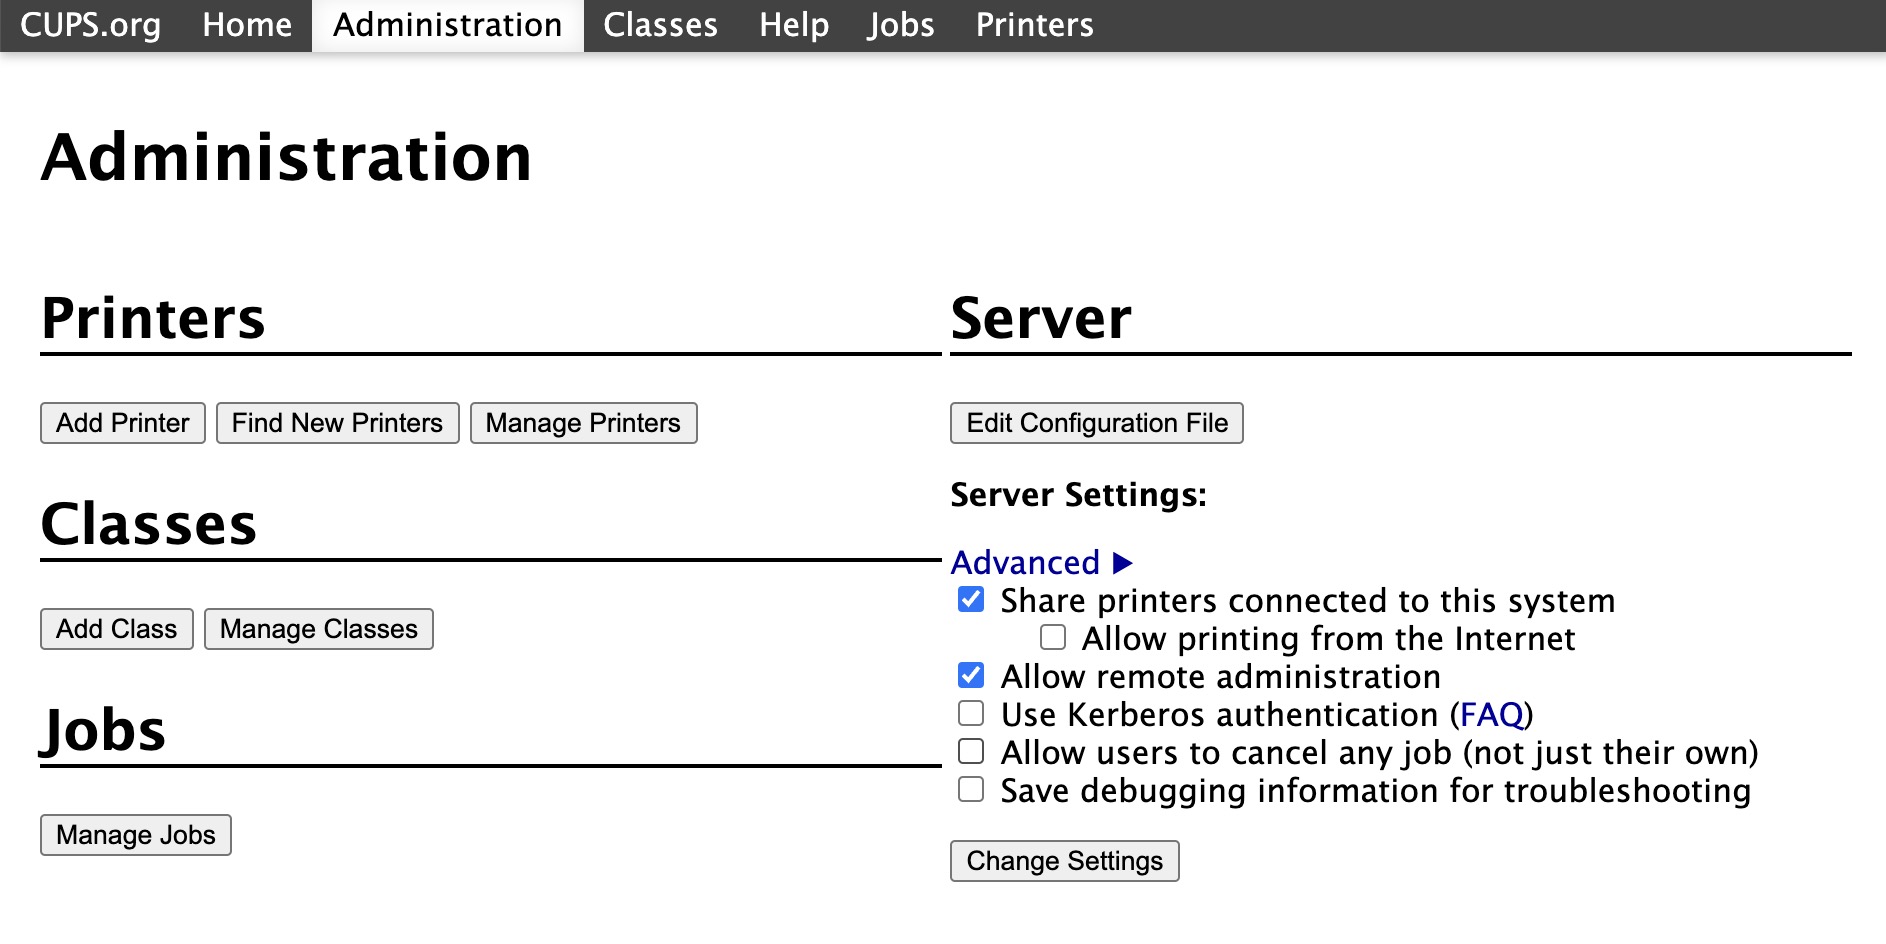
I logged into the web GUI, but I got an error that I wasn’t an authorized user. A quick google search informed me I needed to add my user to the lpadmin group.
sudo usermod -a -G lpadmin my-user-name
Once that was done, I went through the admin menu to add a printer. CUPS was able to detect my wireless printer through Bonjour/Zeroconf, but I didn’t have any Brother drivers. Brother’s official drivers weren’t built for arm processors. Another search turned up brlaser, a CUPS Brother laser printer driver. Another terminal command, and the drivers were installed.
sudo apt install printer-driver-brlaser
Back in the CUPS GUI, I was able to successfully add my printer and select the correct brlaser drivers. I tried printing a test page, but I got an error that CUPS was unable to connect to the printer. I tried reinstalling the printer with generic drivers and I got the same error. I removed and re-added, I restarted the printer, I restarted the Raspberry Pi. Same error every time.
The error was a little too esoteric and Google was no help this time. I eventually decided I’d install the printer manually using the AppSocket/HP DirectJet option and the static IP address of my printer. Luckily this worked. I was able to print successfully.
Installing the AirPrint server
After spending about two hours installing a printer in Linux, I was losing the will to finish the project. Luckily the next step took all of a minute. A MUO article gave me the one command I needed.
sudo apt install avahi-discover
Once that finished installing, No other setup was required. The printer appeared as an option on my iPhone and I successfully printed.
Wrapping up
Knowing what I know now, I’m not sure I’d recommend this. I’m really happy with the results, but it was a lot of effort. If you’re like me and hate replacing perfectly good electronics, give it a go. For everyone else, here’s a great laser printer that has AirPrint: Brother HL-L2370DW.
Making My Devices Smarter
This post is part of a series about making my devices smarter with a Raspberry Pi. See my other posts:
AirPlay for my old Sonos system
Homekit support for my Flic smart buttons
AirPrint for my printer